A Balance: Non-MicroPs
One of my favorite hobbies (not including MicroPs) is woodworking. It offers a pretty cool release outside of regular academic responsibilities. This week I spent some extra time in the woodshop, working on the wood lathe on my most recent project: stackable bowls.
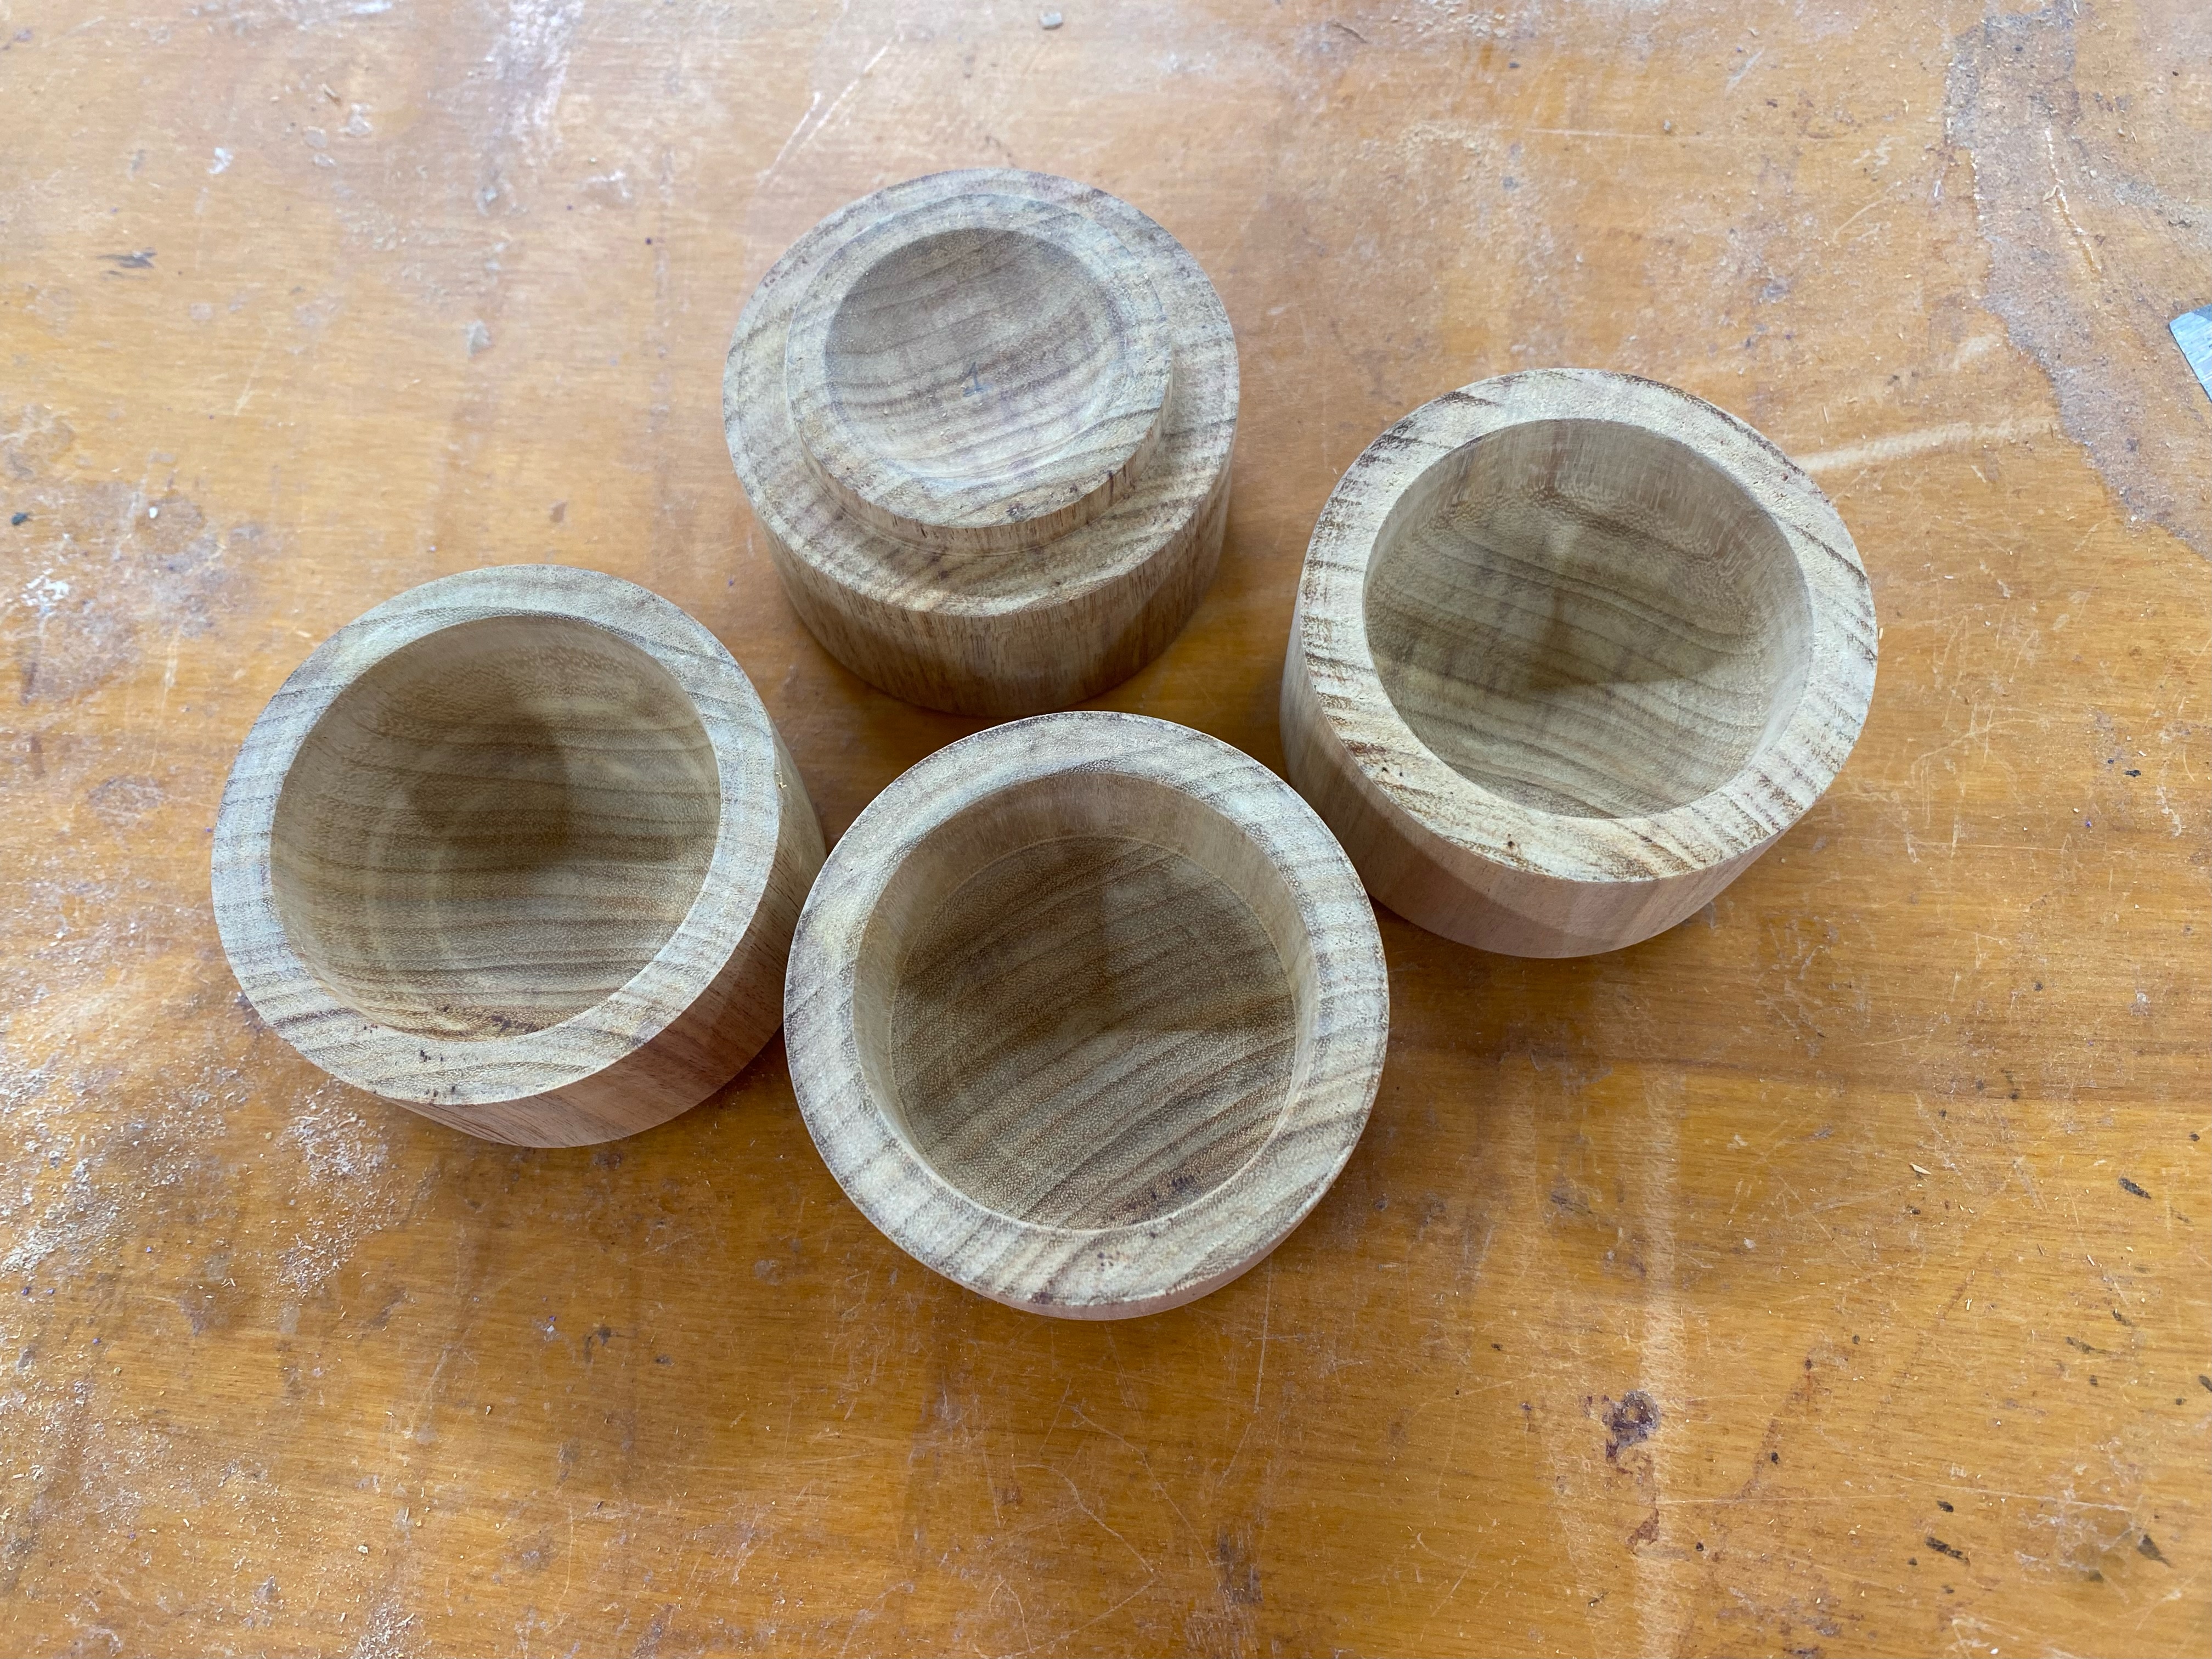
This set of four bowls started as a 3x3x6” rectangular block of canary wood. The first step, before mounting on the lathe is to get the wood as cylindrical as possible, which saves a lot of time and frustration when it is time to shape it on the lathe.
After I sanded down the corners, and accidentally snapped the belt on the belt sander (don’t worry, I replaced it), it was time to mount my wood on the lathe. Since I didn’t want to drill into the wood, I opted to mount my wood between two live centers.
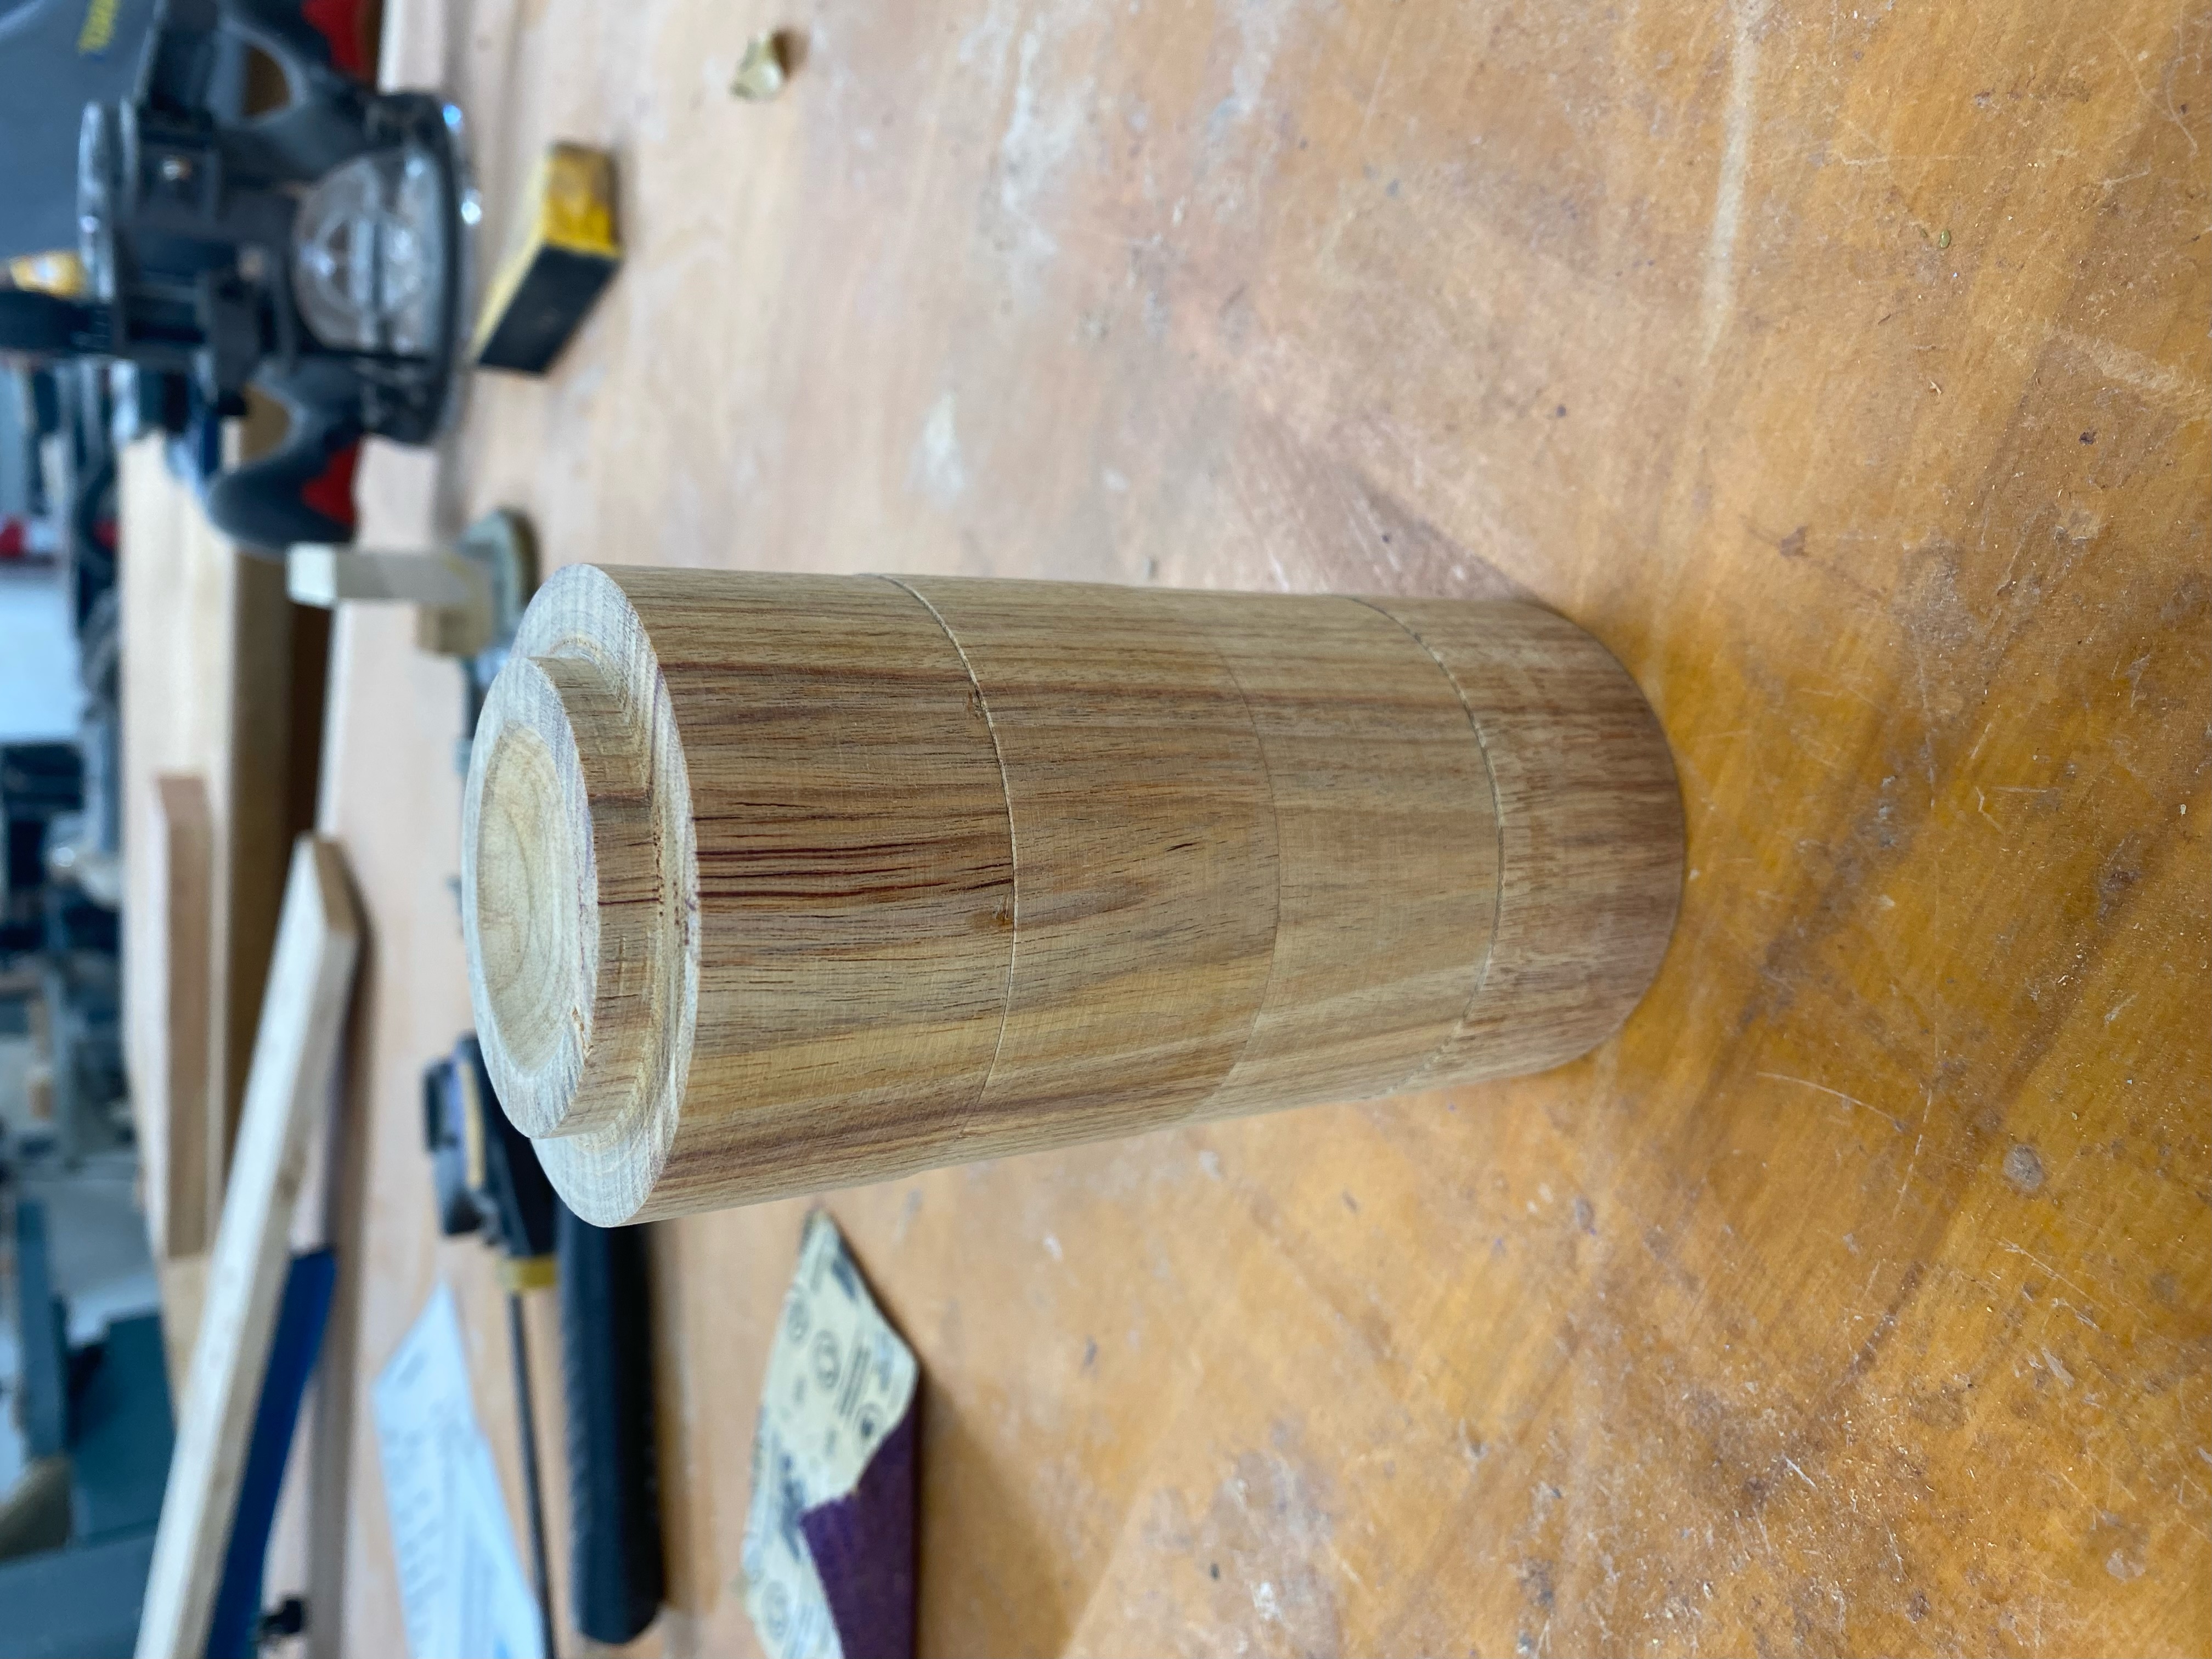
After I had my wood shaped into a cylinder, it was time to cut the wood into four smaller cylinders. For this, I opted to use the lathe parting tool, which I had never used before. I made sure that the corner of the tool wouldn’t catch, and was fairly successfull. I opted to finish the cuts with the japanese saw, which allowed me to get a flush cut.
Next, I moved to carving the foot of each bowl. To do this, I mounted each cylinder onto the adjustable self centering lathe chuck and shaped a foot for each bowl. To allow each bowl to stack, I inset each foot. To account for future wood warping, I carved out the feet.
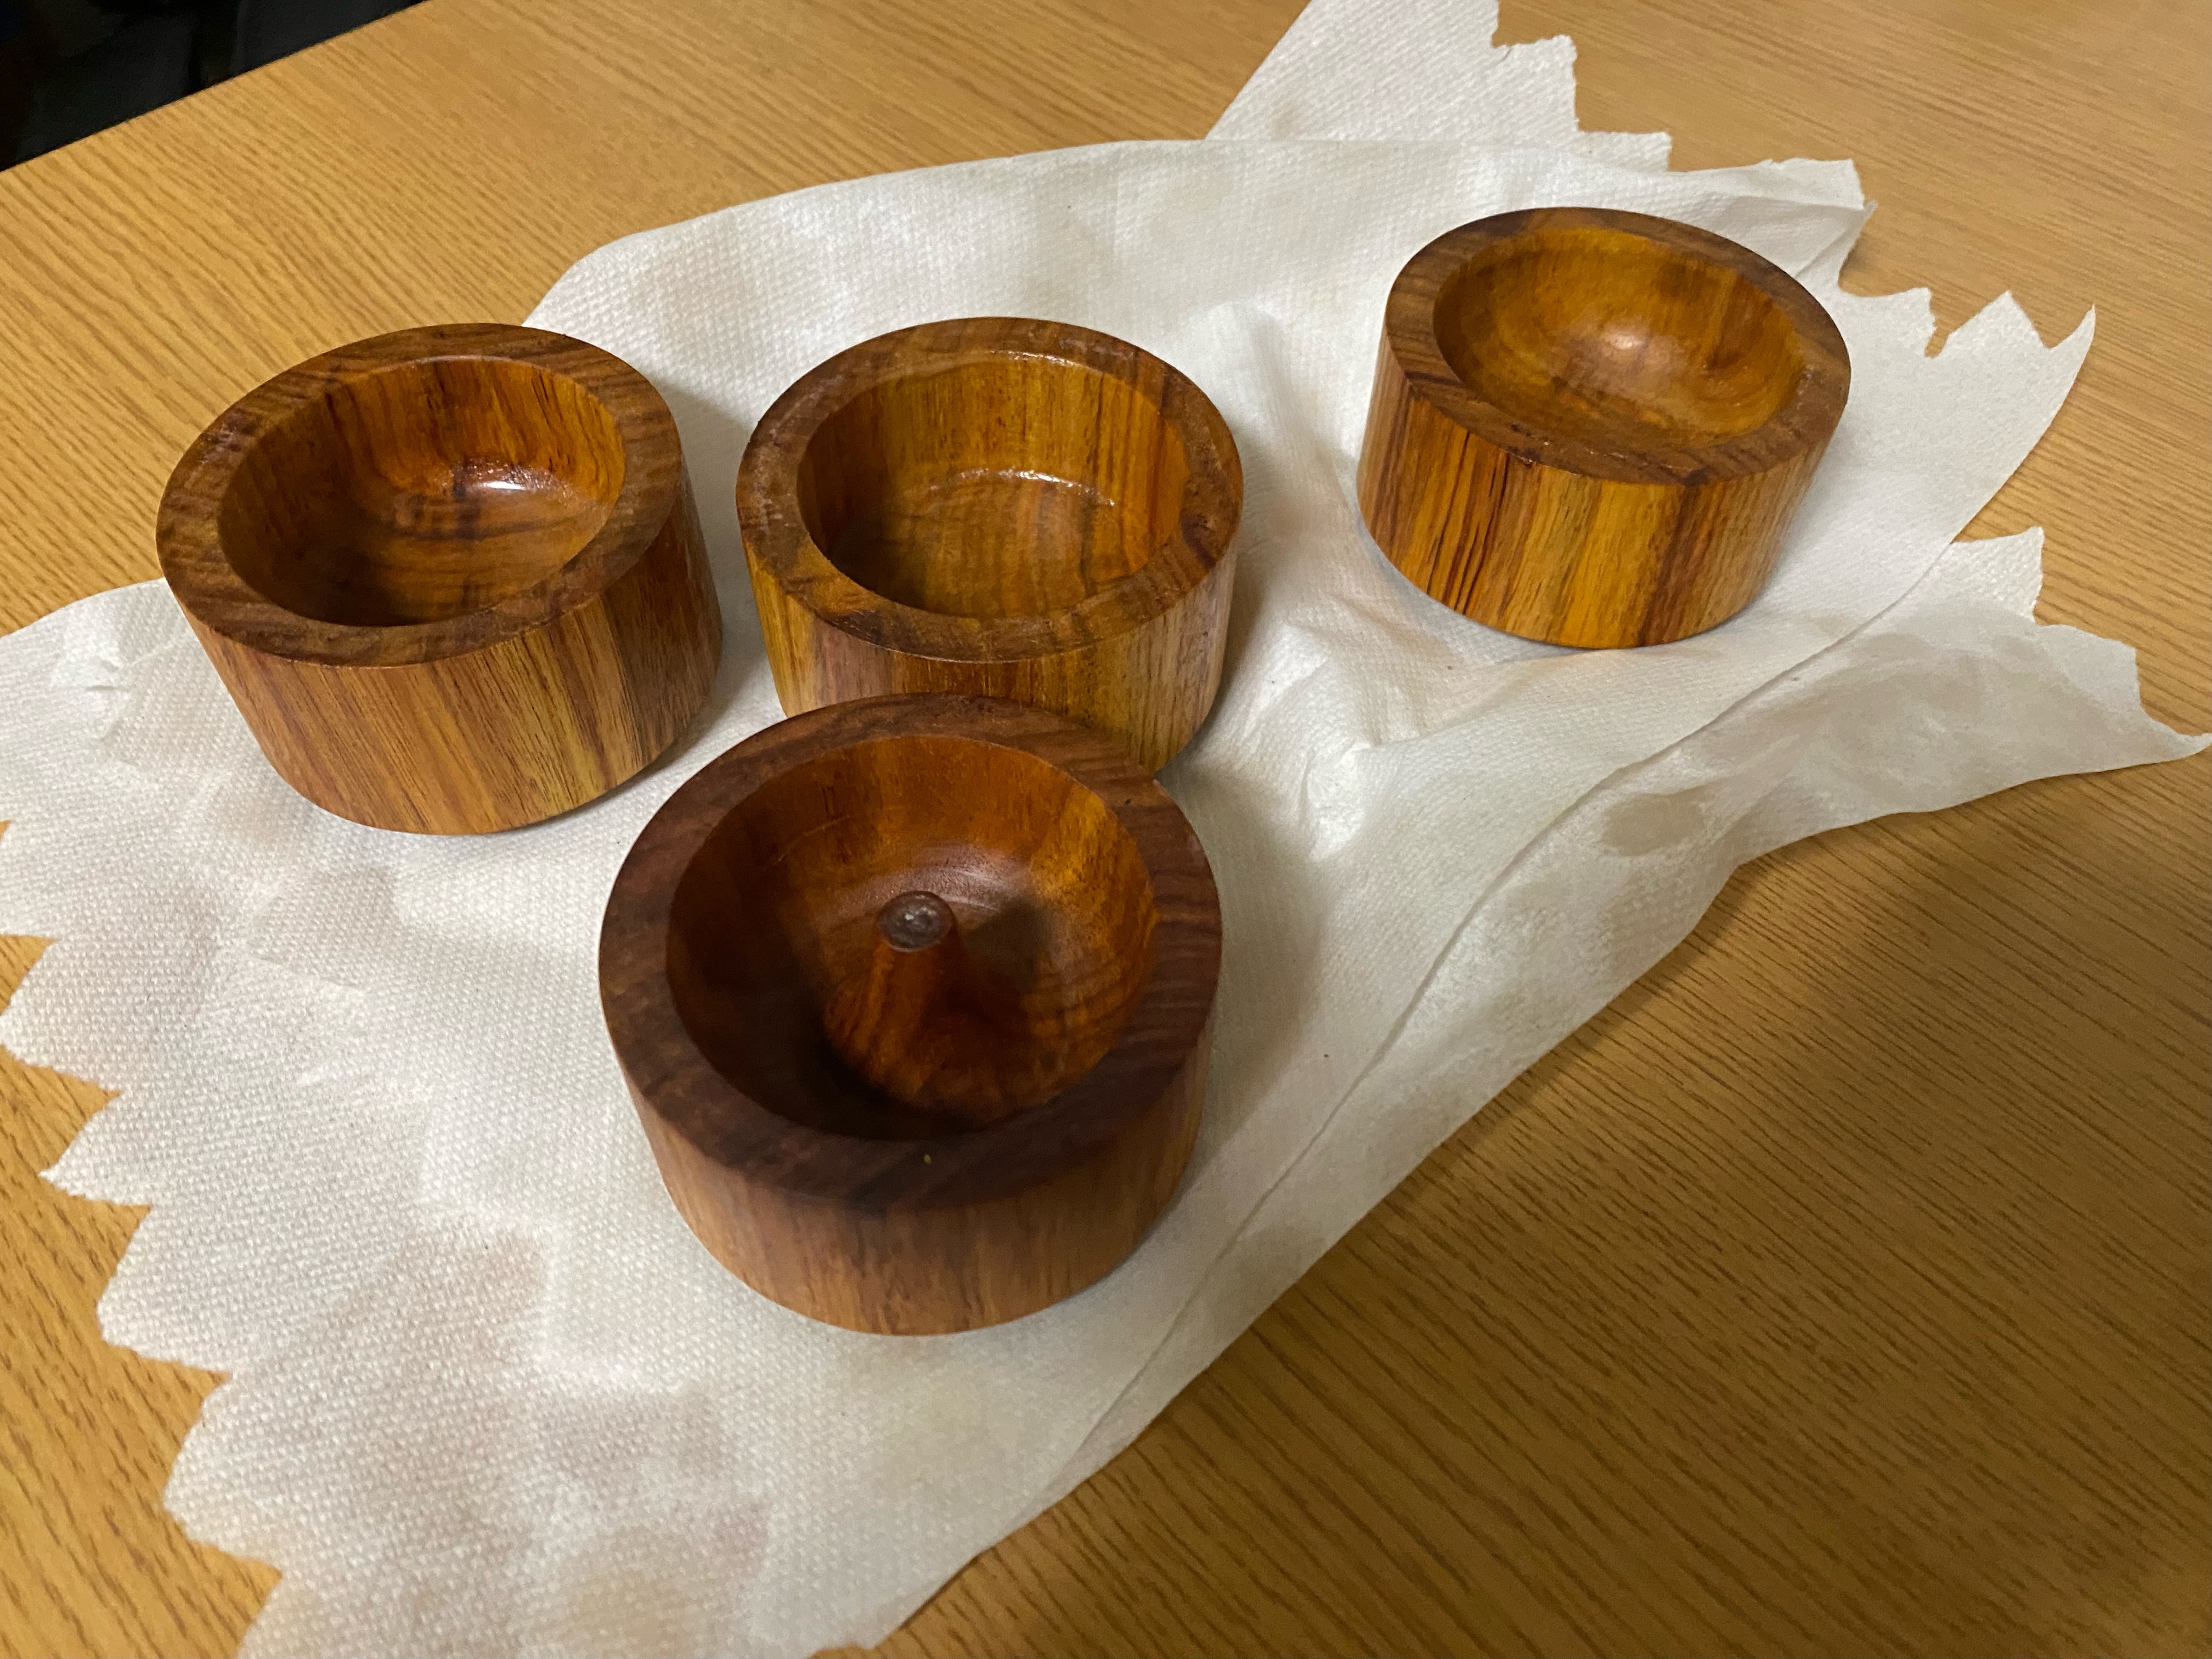
The feet also offered a mounting point for the adjustable lathe chuck to grab as I carved the inside of each bowl. When carving the inside of each bowl, I practiced with different tool angle and placements. It was a fun practice, and resulted in bowls with interior right angles and a bowl with a ring holder.
One of my favorite things about woodworking is that the measurements are all a vibe. As long as the bowls were roughly the same height, thickness, and depth I would be happy. As I shaped the bowls, I made sure that everything would be flush when stacked.
After all the bowls were shaped, it was time to sand. It was enjoyable to sand as I could just run the lathe.
Finally, it was time to polish the pieces. I opted to use a Beeswax & Orange oil based wood conditioner. I applied the conditioner and allowed it to soak overnight before wiping off the excess.
Ultimately I am happy with how it turned out. Since all the bowls came from the same piece of wood, it can be stacked with the grain continuing through the bowls.


Bringing it Back to MicroPs
You might be thinking: How does this relate to microPs??
Well it doesn’t… mostly. As I wrote up my process of making the bowls, I realized that it echoes the process of completing a lab: There’s a design stage, research stage, a debugging stage, a polishing stage, and then a sense of pride with my finished work. And, most importantly, I walk away understanding a little more about how it all works.
In this case, the design stage involved deciding how the bowls will fit into eachother. For the labs, it often looks like drawing block diagrams and talking out methods with my peers. The research stage here involved watching videos on how to use the parting tool, wheras for the labs it involves reading the documentation. The breaking of the belt sander was a bug that got resolved once I understood how I ripped it and replaced the belt. Finally, the sanding and polishing of the bowls is simialir to the final touches of the lab, where I connect all my modules and add function stubs to ensure my work is cohesive.
You might think that I’m reaching here, but nonetheless I am glad I spent some time in the woodshop this week.